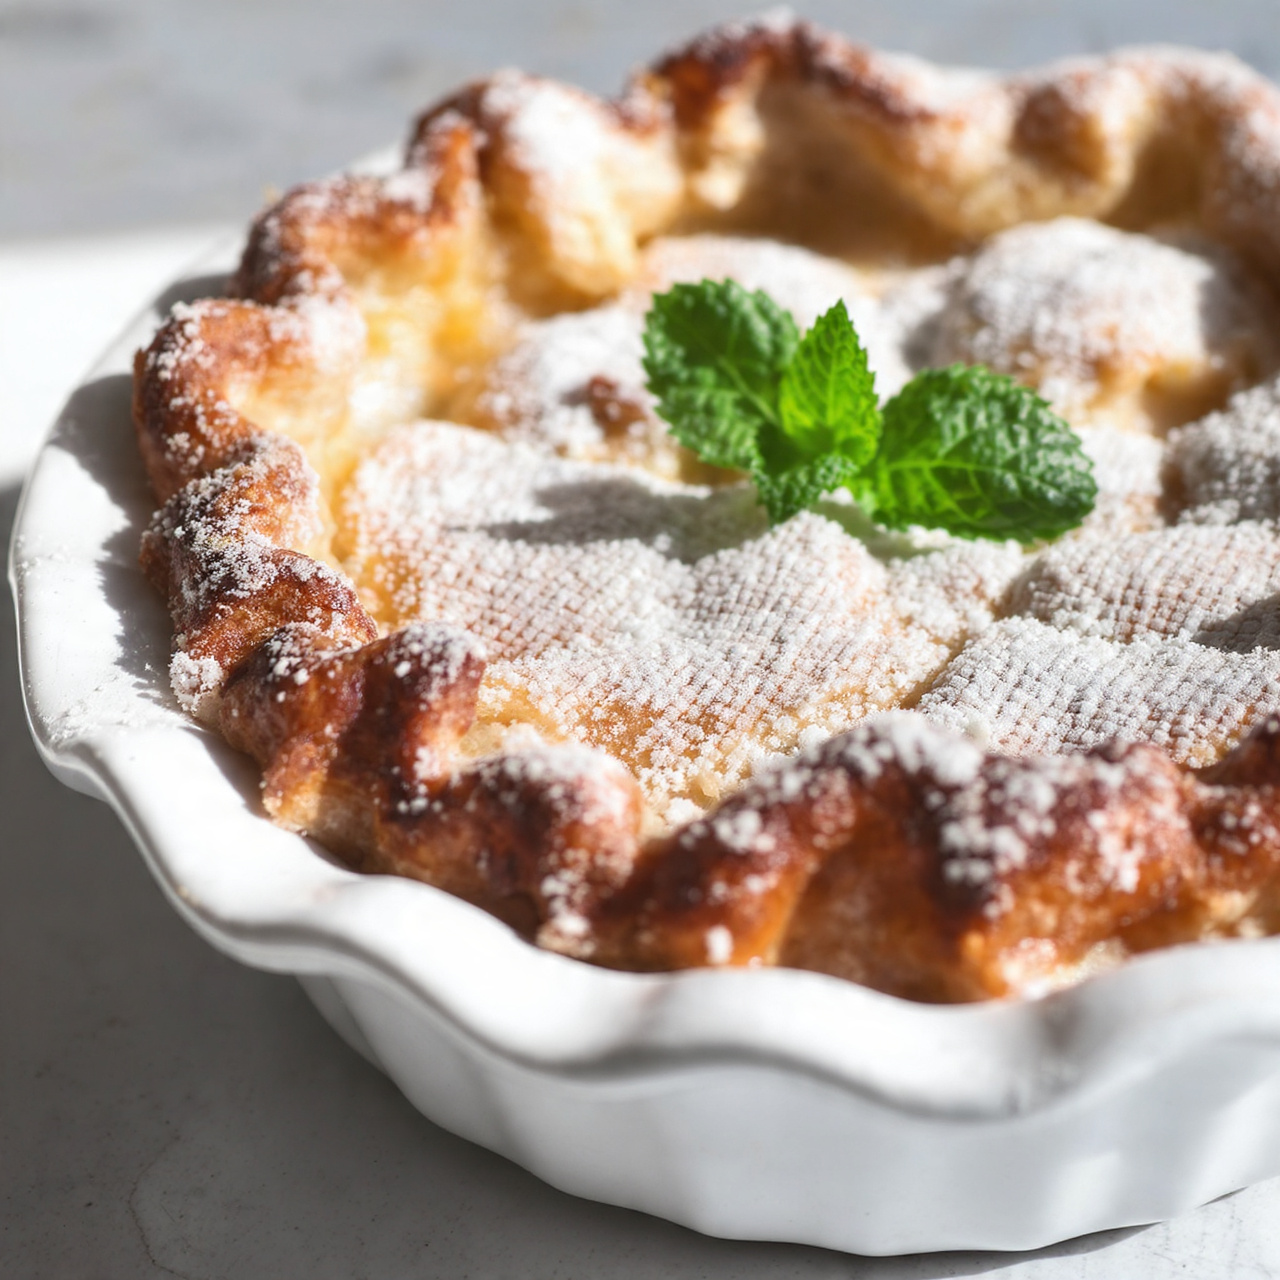
Mile High Apple Pie
This Mile High Apple Pie stacks tender, spiced apples into a towering, flaky crust for the ultimate showstopper dessert. Learn how to make a Mile High Apple Pie that slices clean every single time.

Why This Mile High Apple Pie Is Worth The Wait
There is something undeniably impressive about a pie that towers over the plate. This Mile High Apple Pie is exactly that: a golden, flaky crust wrapped around a mountain of tender, spiced apples that somehow slices clean instead of collapsing into a puddle. If you have ever wondered how to make a Mile High Apple Pie without ending up with a soggy bottom or a filling that spills everywhere, you are in the right place.
This is not your average weeknight dessert. It is the pie you bring to Thanksgiving when you want people to actually gasp. The secret lies in the Mile High Apple Pie filling itself, which uses a generous mix of apples tossed with just enough cornstarch to thicken the juices without turning gluey, plus a short resting period that lets the sugar draw out excess liquid before it ever hits the oven.
Before we get cooking, the right tools and ingredients make a real difference here. A sturdy, sharp paring knife speeds through five pounds of apples without turning your hands to mush, and a deep dish pie plate is genuinely non negotiable if you want that dramatic height to survive baking. A reliable pastry cutter also makes quick work of the butter, keeping it cold and flaky instead of warm and greasy.
Choosing And Prepping Your Apples
The apples are the whole point of this recipe, so choose wisely. A blend of tart and sweet varieties gives the Mile High Apple Pie filling real depth. Granny Smith apples hold their shape and add brightness, while Honeycrisp apples bring natural sweetness and a satisfying bite. Slice them uniformly, about a quarter inch thick, so they cook evenly and stack neatly into that signature tall shape.
Chef's Tip: Toss your sliced apples with lemon juice the moment they're cut. It stops browning and adds a subtle tang that balances the brown sugar in the filling.
Once sliced, don't rush straight to the oven. Let the sugared apples rest for 15 minutes. This step draws out extra moisture, which means less risk of a watery, underbaked bottom crust later.
Building The Tallest, Flakiest Crust
A proper Mile High Apple Pie recipe lives or dies by its crust. Keep everything cold: the butter, the water, even the bowl if your kitchen runs warm. Cutting the butter into the flour until it resembles coarse crumbs with pea sized chunks remaining is what creates those irresistible flaky layers once baked.
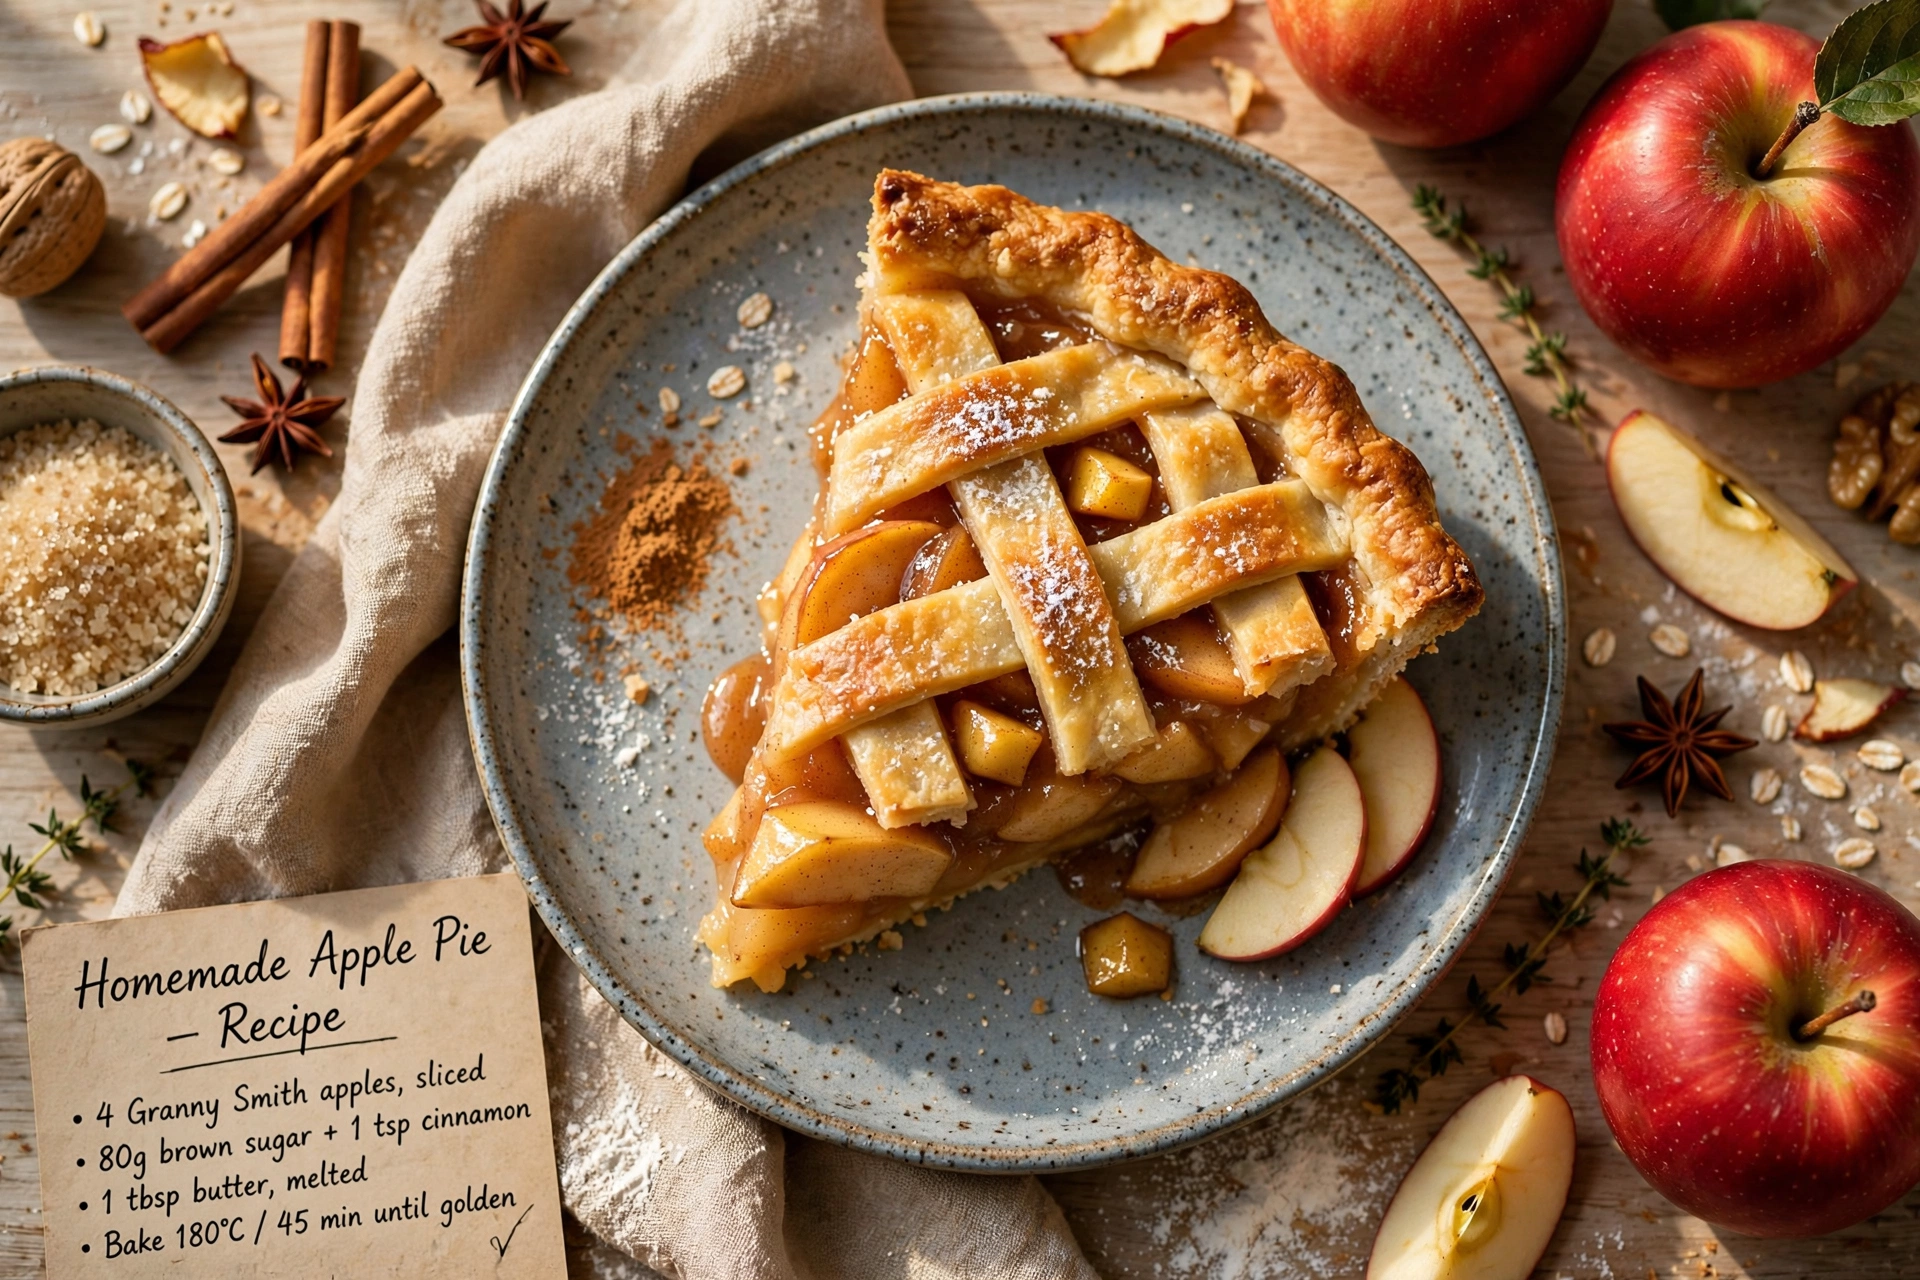
When you roll out the bottom crust, give yourself a little extra overhang, since a mountain of apples needs a secure edge to crimp against. For the top, you can go with a classic solid crust with a few decorative vents, or weave a lattice if you want the filling to peek through as it bubbles.
- Keep dough chilled until the moment you roll it out
- Work quickly to avoid warming the butter with your hands
- Don't skip the egg wash, it's what gives the crust that glossy, bakery style finish
Ready to make it? Here is the full step by step recipe:
Mile High Apple Pie
This Mile High Apple Pie stacks tender, spiced apples into a towering, flaky crust for the ultimate showstopper dessert. Learn how to make a Mile High Apple Pie that slices clean every single time.
Ingredients
- 2 1/2 cups all-purpose flour, plus extra for rolling
- 1 tsp granulated sugar, for the crust
- 1 tsp salt, divided
- 1 cup unsalted butter, cold, cubed
- 1/2 cup ice water, plus more as needed
- 5 lb apples, mix of Granny Smith and Honeycrisp, peeled, cored, and sliced thin
- 2 tbsp lemon juice, freshly squeezed
- 3/4 cup brown sugar, packed
- 1/4 cup granulated sugar, for the filling
- 2 tsp ground cinnamon
- 1/4 tsp ground nutmeg, freshly grated if possible
- 3 tbsp cornstarch, for thickening
- 1 large egg, beaten, for egg wash
- 1 tbsp coarse sugar, for sprinkling on top, optional
Instruction
In a large bowl, whisk together the flour, 1 teaspoon sugar, and half the salt. Cut in the cold cubed butter using a pastry cutter or your fingers until the mixture resembles coarse crumbs with pea sized pieces of butter remaining.
Drizzle in the ice water, 1 tablespoon at a time, mixing gently until the dough just comes together. Divide into two discs, wrap in plastic, and refrigerate for at least 1 hour.
Meanwhile, toss the sliced apples with lemon juice in a very large bowl to prevent browning.
In a separate bowl, combine the brown sugar, granulated sugar, cinnamon, nutmeg, remaining salt, and cornstarch. Sprinkle over the apples and toss until evenly coated. Let sit for 15 minutes so the apples release their juices.
Preheat the oven to 425 degrees F (220 degrees C). Place a rimmed baking sheet on the bottom rack to catch any drips.
Roll out one dough disc on a lightly floured surface into a 12 inch circle and fit it into a 9 inch deep dish pie plate, leaving a slight overhang.
Pile the apple filling into the crust, mounding it high in the center. It will look overly tall, but the apples will shrink as they bake.
Roll out the second dough disc and drape it over the apples, or cut it into strips for a lattice top. Trim and crimp the edges to seal.
Brush the top crust with the beaten egg and sprinkle with coarse sugar. Cut a few small vents in the top if using a solid crust.
Bake at 425 degrees F for 20 minutes, then reduce the oven temperature to 375 degrees F (190 degrees C) and continue baking for 45 to 55 minutes, until the crust is deep golden and the filling is bubbling.
If the edges brown too quickly, tent them with foil halfway through baking.
Cool the pie on a wire rack for at least 3 hours before slicing to allow the filling to set.
Equipment
- 9 inch deep dish pie plate
- Pastry cutter
- Rolling pin
- Large mixing bowls
- Rimmed baking sheet
- Pastry brush
- Wire cooling rack
Notes
Serving, Storing, And Slicing Tips
The hardest part of this whole recipe is the waiting. A Mile High Apple Pie needs a full three hours to cool and set before you slice into it. Cutting it warm might look tempting, but the filling needs that time to firm up around the apples, or you will end up with a beautiful but runny mess on the plate.
Serve slices with a scoop of vanilla ice cream or a drizzle of caramel for the classic finish. Leftovers keep beautifully at room temperature for a couple of days, loosely covered, or in the fridge if you want them to last closer to a week. A quick reheat in the oven brings the crust back to life far better than the microwave ever could.
Chef's Tip: If your crust edges are browning faster than the center is baking, tent them loosely with foil about halfway through the bake time.
Whether you're making this for a holiday table or just because you have a bag of apples calling your name, this recipe for Mile High Apple Pie delivers the kind of dramatic, comforting dessert that people remember long after the last slice is gone.