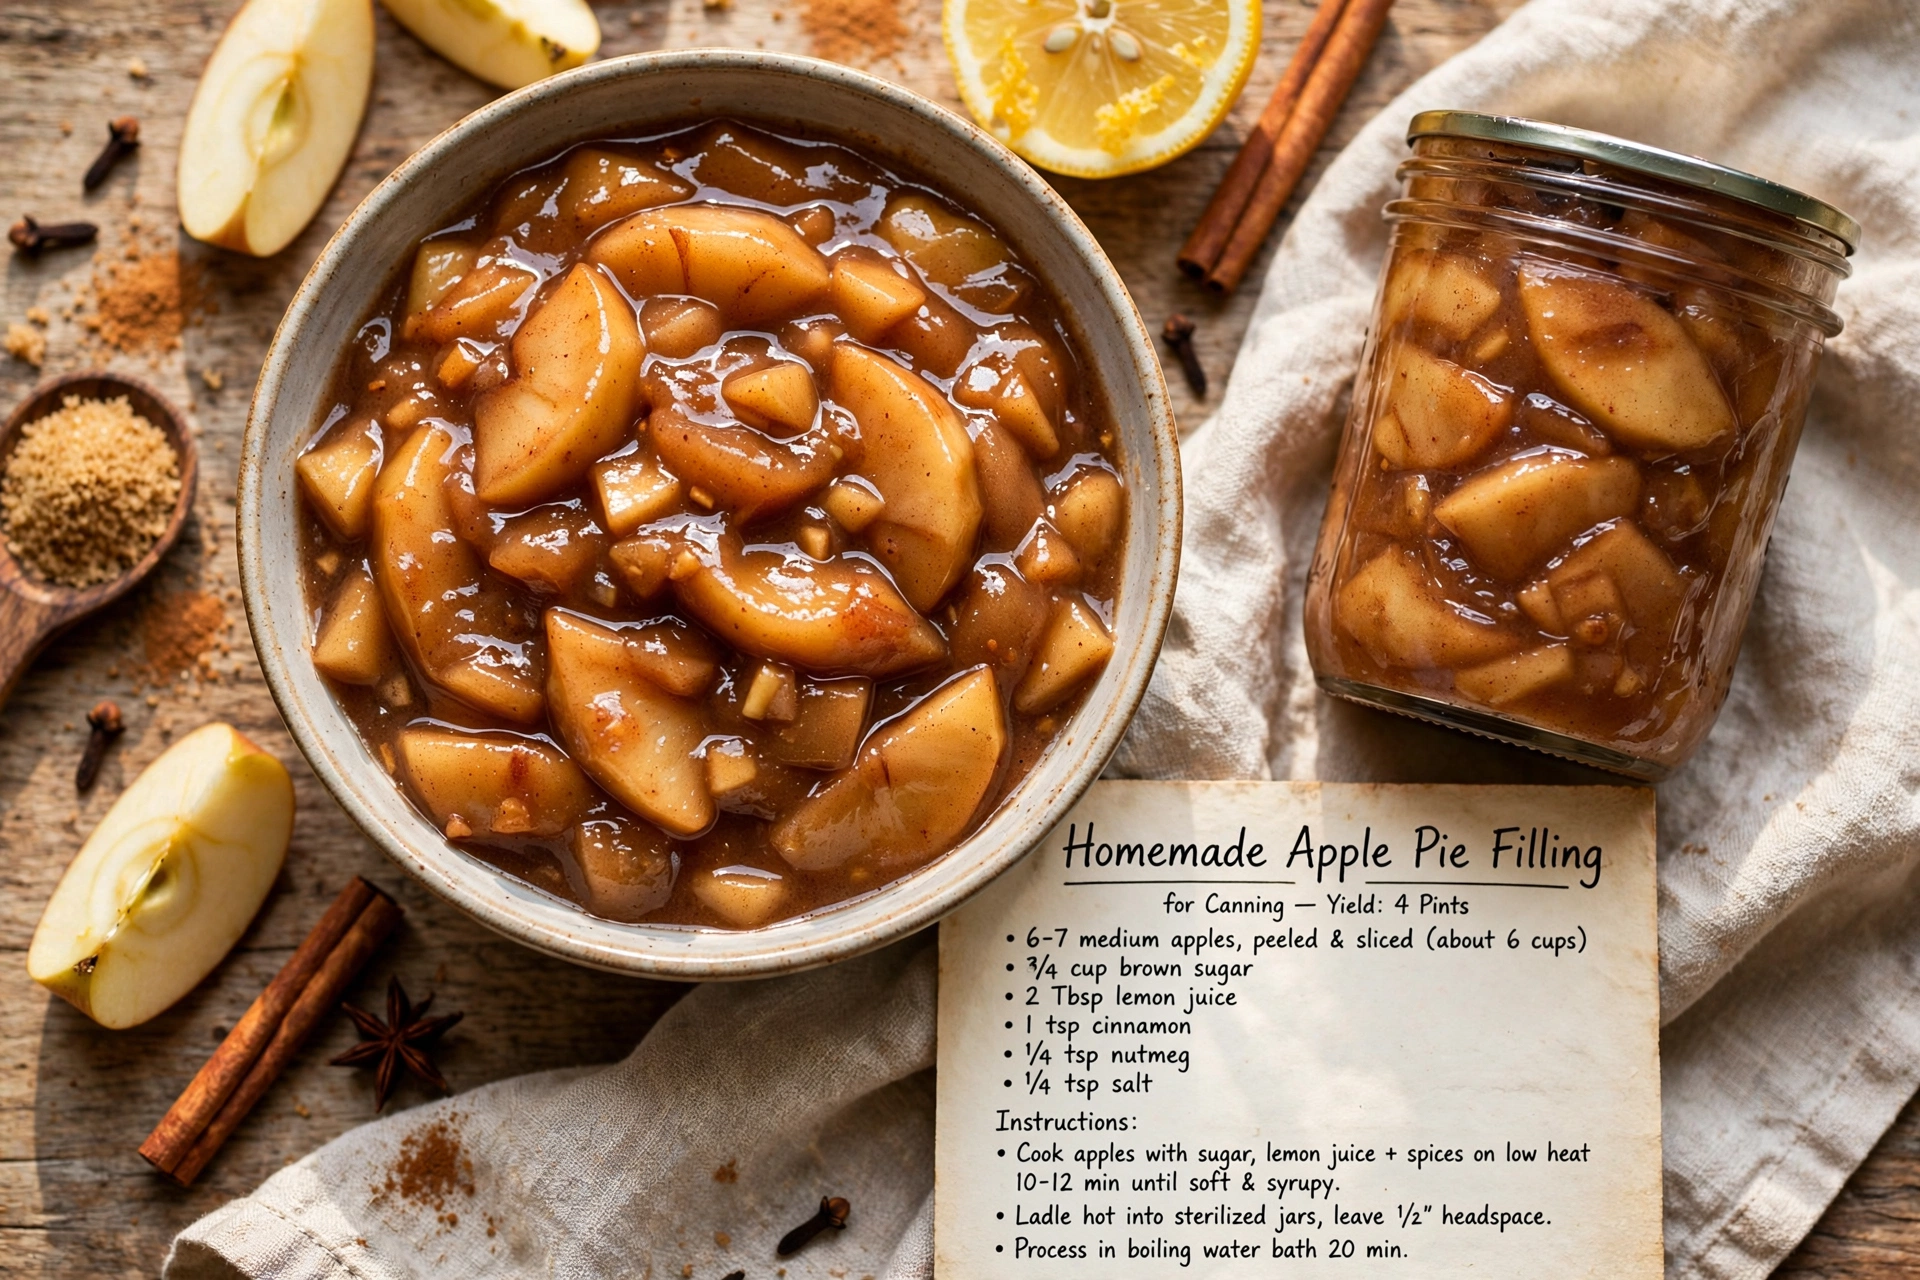
Homemade Apple Pie Filling for Canning
Learn how to make and can apple pie filling at home with this easy, small-batch canning recipe, perfect for stocking your pantry with ready-to-bake apple pie all year long.

Why You Need Apple Pie Filling to Can in Your Pantry
There is something deeply satisfying about opening your pantry in the middle of winter and pulling out a jar of homemade apple pie filling you canned yourself back in the fall. This recipe walks you through exactly how to can apple pie filling using Clear Jel, the safe, tested thickener that holds up beautifully through the canning process without breaking down. Once you learn how to make and can apple pie filling, you will never want to buy the canned stuff from the grocery store again.
Whether you are canning apples for pie filling from a backyard tree or a big bushel from the farmers market, this recipe scales easily and gives you consistent, glossy, cinnamon-spiced filling every single time.
Before we get cooking, the right tools and ingredients make a real difference here. A reliable water bath canner, a good jar lifter, and true Clear Jel (not the instant kind) are what separate a shelf-stable, safely sealed jar from a filling that just does not set up right. These are the products that genuinely help this recipe shine:
The Secret to Canning Apple Pie Filling Without Clear Jel Problems
A lot of home canners ask about canning apple pie filling no clear jel, hoping to substitute cornstarch or flour. Unfortunately, this is not a safe swap. Cornstarch and regular flour are not tested as safe thickeners for the boiling water bath method because they can break down under prolonged heat, which affects both texture and safety. Clear Jel is a modified food starch developed specifically to remain stable through processing, so it is the one ingredient in this recipe you should not try to substitute.
Chef's Tip: Look for Clear Jel labeled specifically for canning (sometimes called "cook-type" Clear Jel) at bulk food stores, canning supply shops, or online. It is different from the instant variety used for no-cook thickening.
Getting Your Apples Ready
The blanching step is easy to skip, but it genuinely matters. Briefly blanching your apple slices helps them hold their shape and color once sealed in the jar, so your finished filling looks as good as it tastes. Slice your apples evenly, about a quarter inch thick, so they cook at the same rate and give you that classic, tender-but-not-mushy pie filling texture.
When it comes to canning apples for pie filling, consistency is everything. Uneven slices lead to uneven texture, with some pieces turning to mush while others stay too firm.
Building the Thickened Syrup
This is where the magic happens. Whisking the Clear Jel into the sugar and spices before adding any liquid prevents lumps, which is the number one mistake people make with canned apple pie filling recipes for canning. Once your syrup is smooth and glossy, it is ready to be folded together with your blanched apples.
Ready to make it? Here is the full step-by-step recipe:
Homemade Apple Pie Filling for Canning
Learn how to make and can apple pie filling at home with this easy, small-batch canning recipe, perfect for stocking your pantry with ready-to-bake apple pie all year long.
Ingredients
- 6 lbs apples, peeled, cored, and sliced (Granny Smith or other firm baking apples)
- 2 1/2 cups granulated sugar
- 1 1/2 cups clear jel, a cook-type modified cornstarch made specifically for canning
- 1 tbsp ground cinnamon
- 1/4 tsp ground nutmeg, optional
- 2 1/2 cups water
- 2 1/2 cups apple juice, unsweetened
- 1/2 cup lemon juice, bottled, for accurate acidity
- 1/4 tsp salt, optional, to balance sweetness
Instruction
Wash and prepare 7 quart-sized (or 14 pint-sized) mason jars, lids, and rings. Keep jars hot in a simmering water bath canner until ready to fill.
Peel, core, and slice the apples into even, 1/4-inch thick pieces. Work in batches and place sliced apples in a bowl of water with a splash of lemon juice to prevent browning while you finish slicing the rest.
Bring a large pot of water to a boil. Blanch the apple slices in batches for 1 minute, then transfer to an ice bath to stop the cooking. Drain well and set aside.
In a large, heavy-bottomed pot, whisk together the granulated sugar, Clear Jel, cinnamon, nutmeg, and salt until no lumps remain.
Stir in the water and apple juice, whisking constantly to prevent clumping. Bring the mixture to a boil over medium-high heat, stirring frequently, until it thickens and turns glossy, about 4 to 6 minutes.
Remove the pot from heat and stir in the lemon juice, then fold in the drained apple slices until they are evenly coated in the thickened syrup.
Ladle the hot filling into the prepared hot jars, leaving 1 inch of headspace. Use a bubble remover or plastic utensil to release trapped air pockets, then adjust headspace again if needed.
Wipe the jar rims clean with a damp cloth, center the lids, and screw on the rings until fingertip tight.
Process the jars in a boiling water bath canner, fully submerged under at least 1 inch of water, for 25 minutes for quarts (20 minutes for pints), adjusting for your altitude.
Turn off the heat, remove the canner lid, and let the jars sit in the water for 5 minutes before carefully transferring them to a towel-lined counter.
Let the jars cool undisturbed for 12 to 24 hours, then check that all lids have sealed before labeling and storing.
Equipment
- Water bath canner
- 7 quart-sized mason jars with lids and rings
- Large heavy-bottomed pot
- Jar lifter
- Canning funnel
- Bubble remover or plastic spatula
- Ladle
Notes
Serving, Storing, and Baking With Your Canned Filling
Once your jars have cooled and sealed, store them in a cool, dark pantry for up to a year. Each quart jar is roughly enough for one standard 9 inch pie, making it incredibly easy to bake a fresh pie on a whim.
A few ways to use your filling:
- Pour it straight into a store-bought or homemade pie crust and bake until golden.
- Warm a jar and spoon it over vanilla ice cream or pancakes.
- Use it as a filling for hand pies, turnovers, or a quick crumble topping.
Chef's Tip: Always let your pie filling cool completely before pouring it into an unbaked crust. Hot filling can make the bottom crust soggy and harder to crisp up.
Once you get the hang of how to can apple pie filling, it becomes an easy annual tradition, one that fills your pantry with a little taste of fall no matter what time of year you crack open a jar.