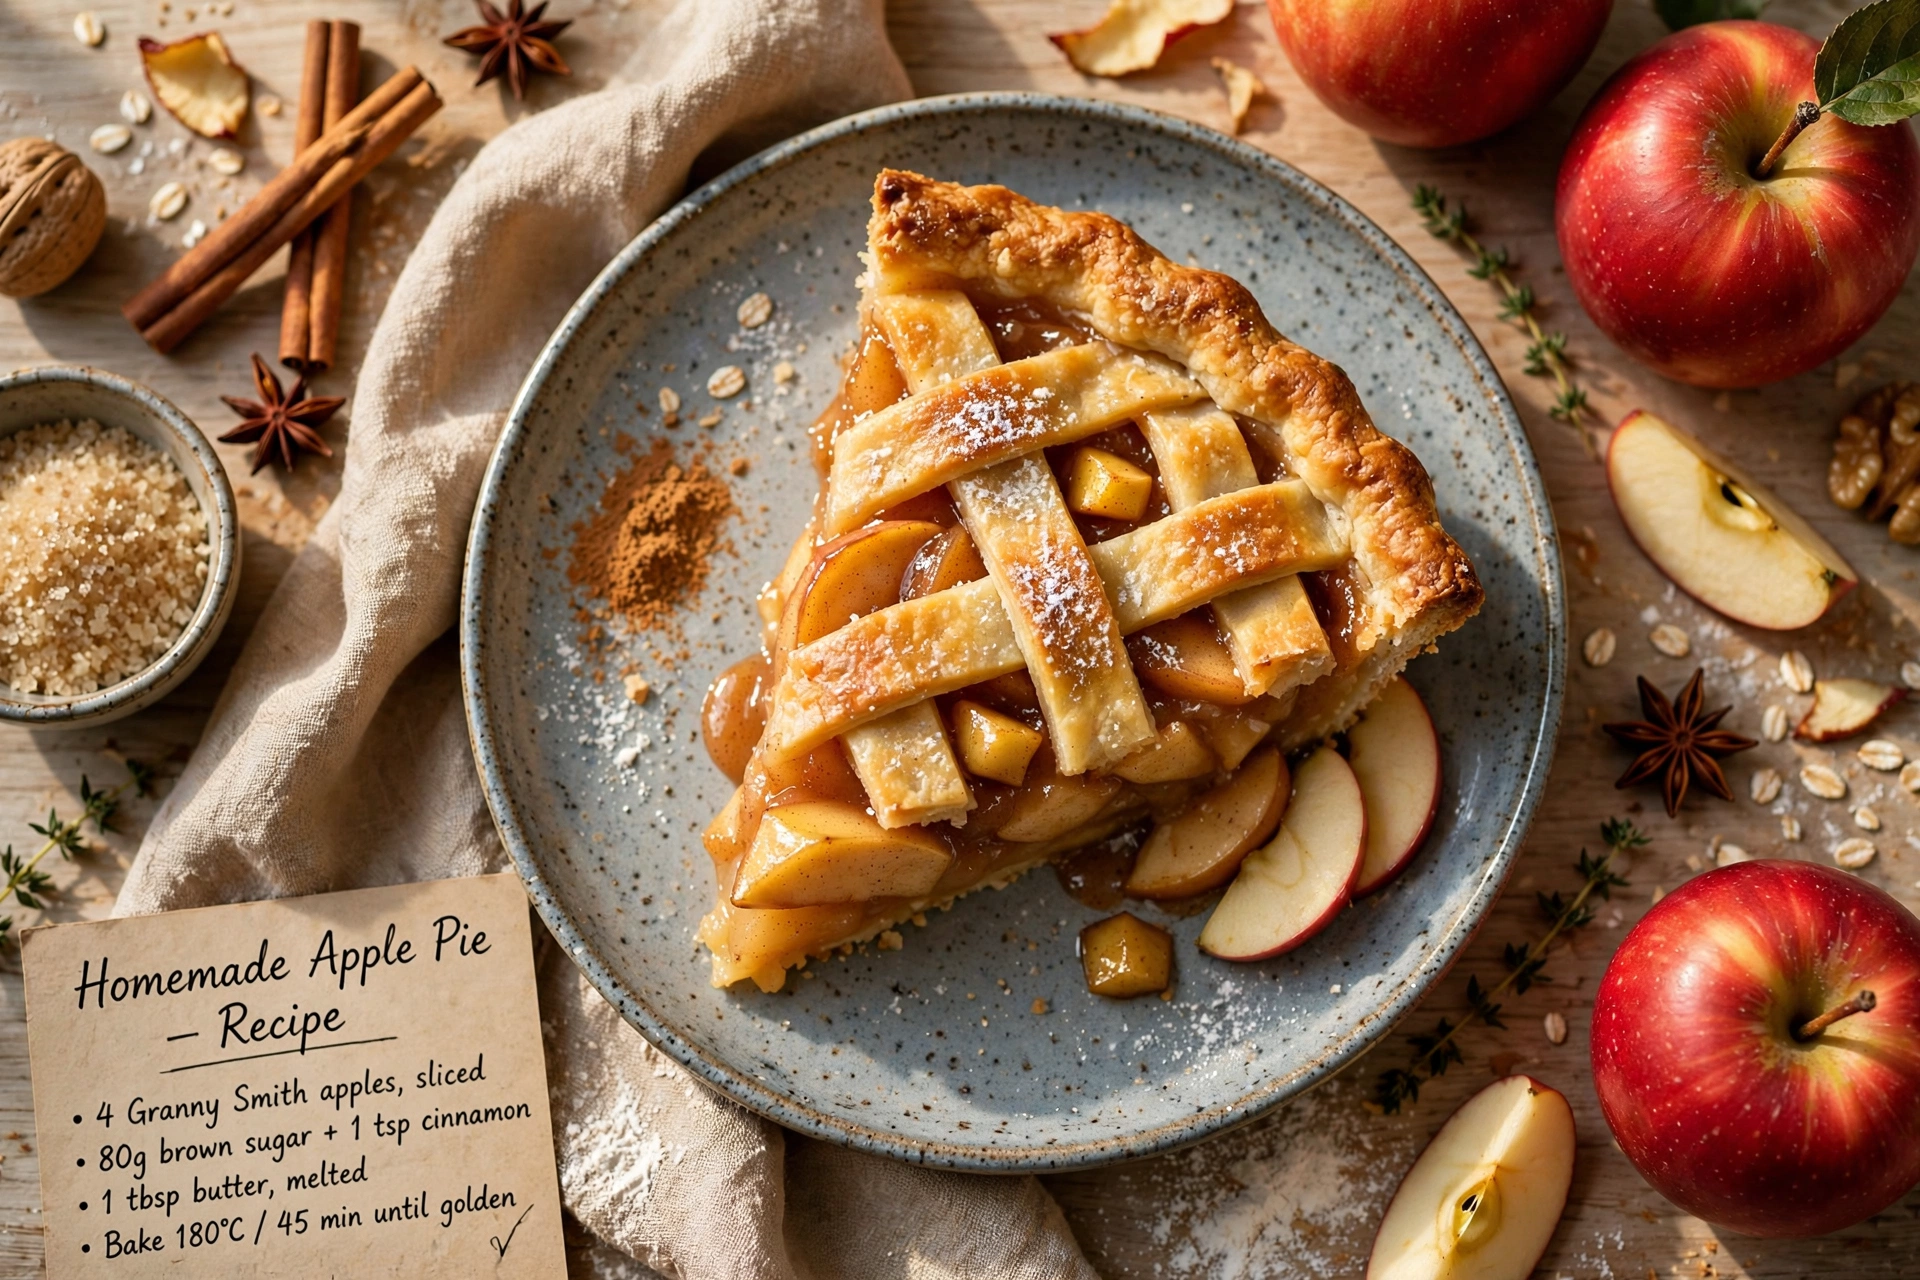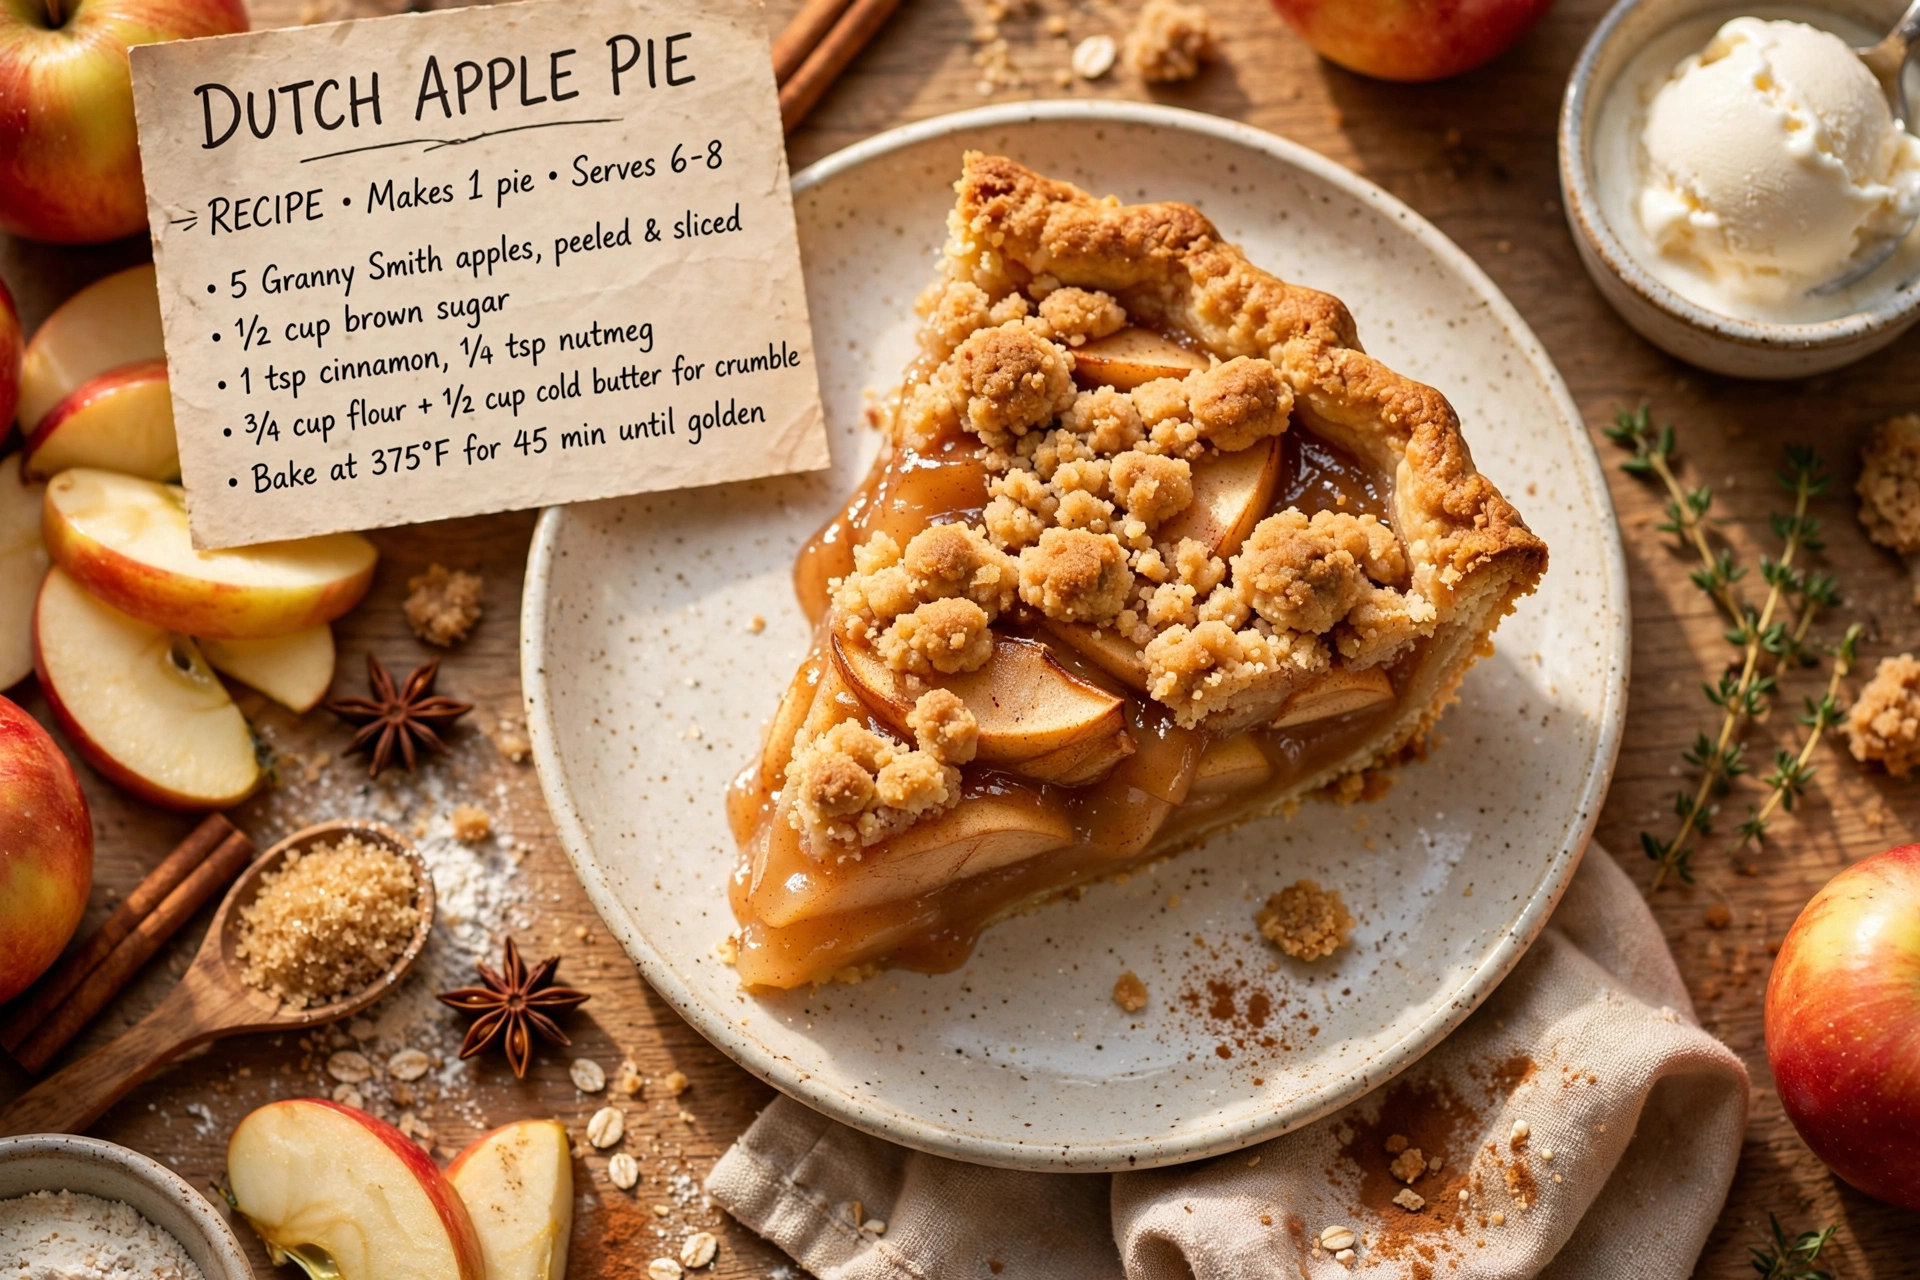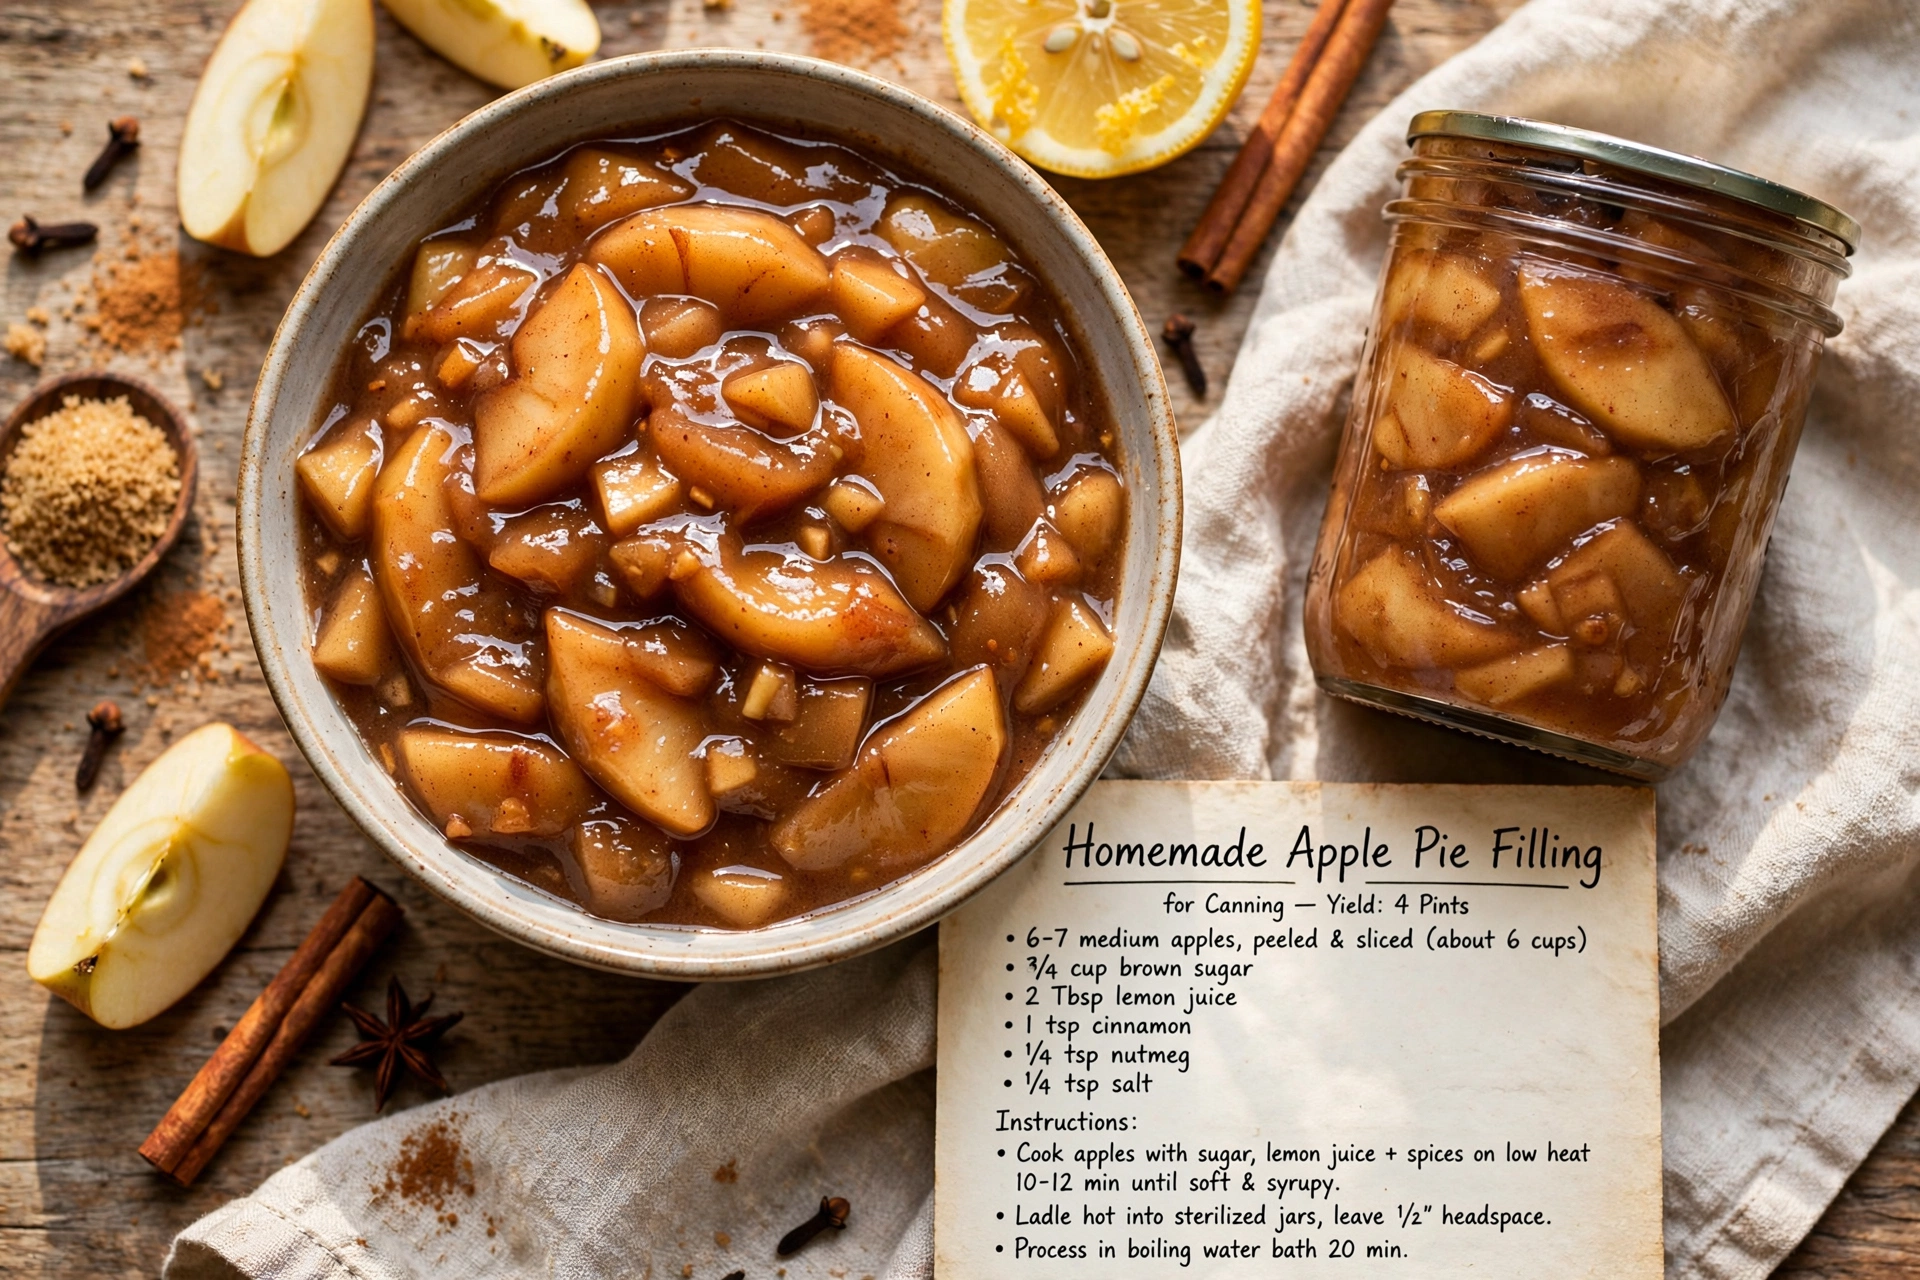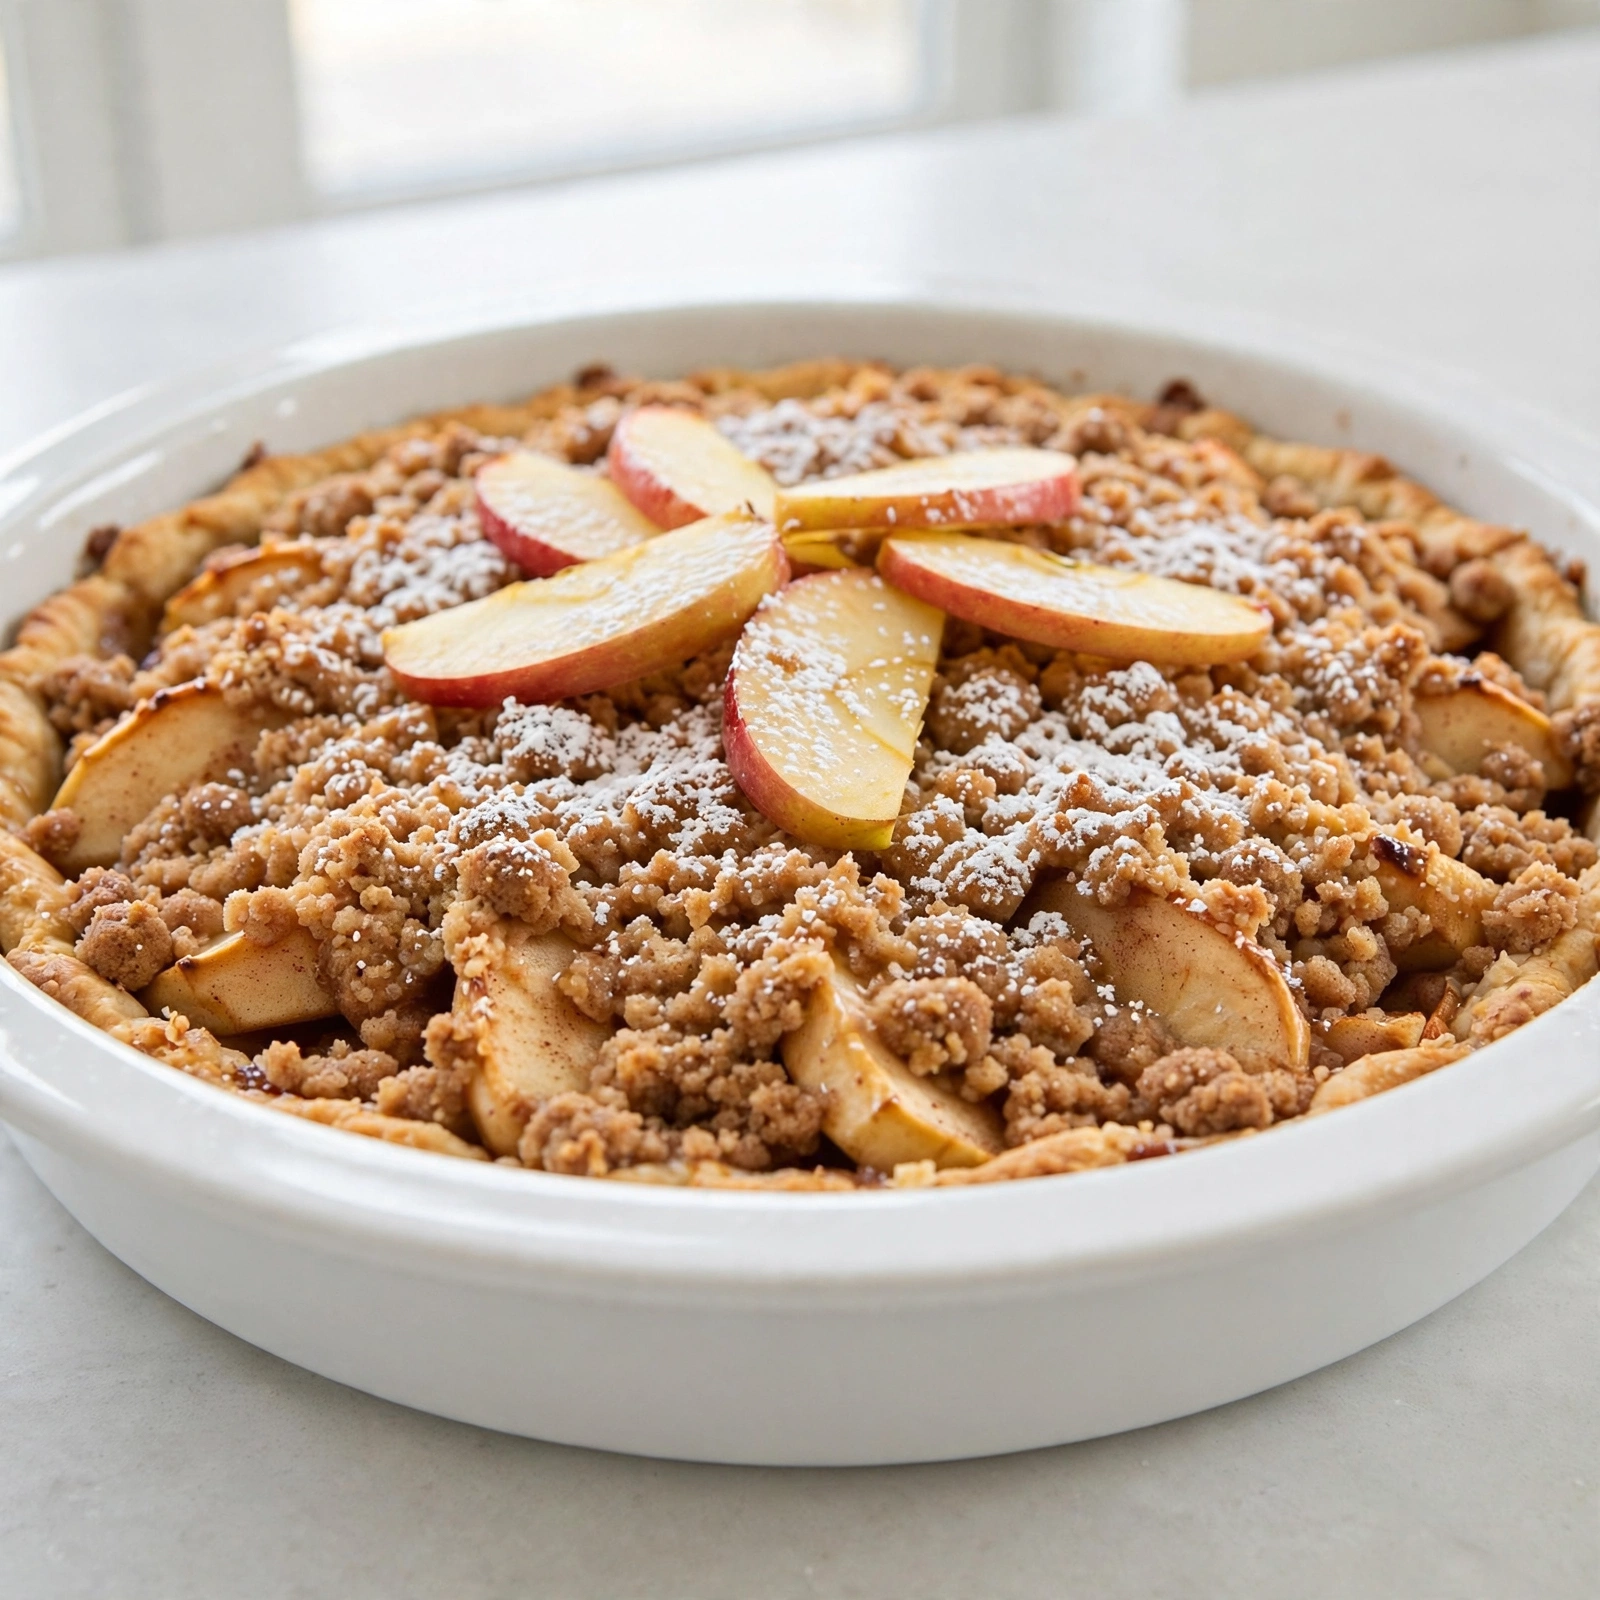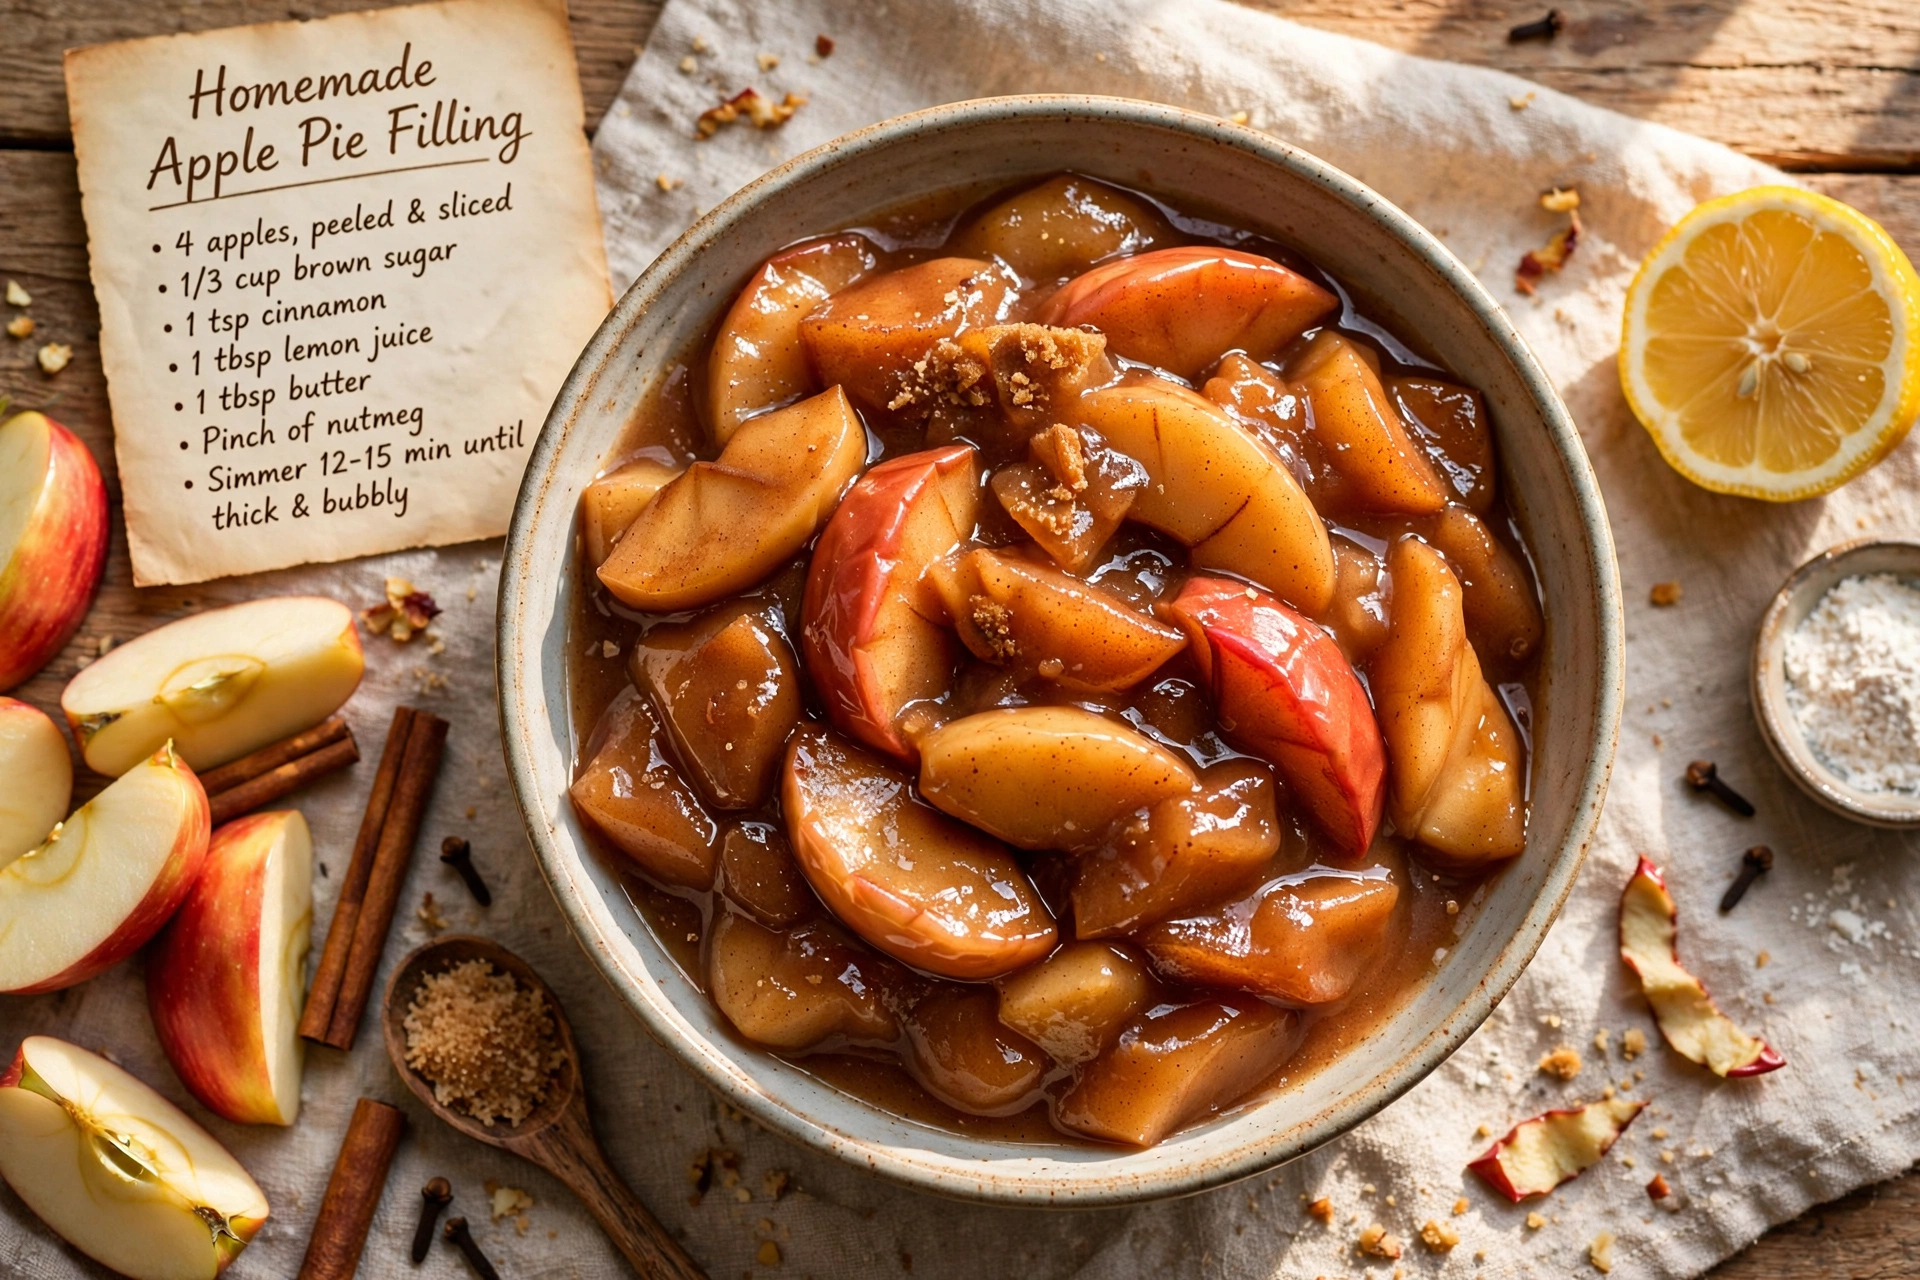
Homemade Apple Pie Filling
This homemade apple pie filling is thick, cinnamon spiced, and made from fresh apples in under an hour, perfect for pies, pastries, or spooning over ice cream.

Why You'll Love This Homemade Apple Pie Filling
There's something almost magical about a pot of apples slowly turning into a thick, glossy, cinnamon spiced filling on your stovetop. This homemade apple pie filling recipe takes fresh apples and transforms them into the kind of rich, spoonable filling you'd expect from a bakery, without any of the canned taste or mystery ingredients. Whether you're planning ahead for a holiday pie or just craving something warm and sweet tonight, this is the easy apple filling recipe you'll come back to again and again.
What makes this version stand out is the texture. We're talking about a thick apple pie filling that holds its shape when sliced, with tender apple pieces suspended in a syrupy, spiced sauce that never turns watery or runny. It's the kind of amazing homemade apple pie filling that makes people ask for the recipe before they've even finished their first bite.
Before we get cooking, the right tools and ingredients make a real difference here. A sturdy saucepan helps the syrup thicken evenly without scorching, and a sharp peeler saves you a surprising amount of time when you're working through eight apples. These are a few of the picks that genuinely help this recipe shine:
Choosing the Best Apples for Pie Filling
Not all apples behave the same way once they hit the heat, so choosing the right variety matters more than people expect. For the best fresh apple pie filling recipes, look for apples that are firm enough to hold their shape but still break down slightly to thicken the sauce naturally.
- Granny Smith: tart, firm, and holds its shape beautifully
- Honeycrisp: sweet with a satisfying crunch that softens nicely
- A mix of both: balances sweetness and tartness for the most complex flavor
Chef's Tip: If you only have soft, mealy apples on hand, cut your cook time slightly shorter. Softer apples break down faster and can turn mushy if simmered too long.
How To Make Apple Pie Filling From Fresh Apples
The process is simpler than most people assume, and it comes down to three basic stages: prepping the apples, building the syrup, and simmering everything together until it's thick and glossy.
Start by tossing your sliced apples in lemon juice right away. This isn't just for flavor, it keeps the slices from browning while you prepare the syrup base. From there, whisking the sugars, cornstarch, and spices together before adding any liquid ensures the cornstarch dissolves smoothly instead of clumping once it hits the heat.
Once the syrup thickens on its own, the apples go in. This order matters because it lets you control the texture of the syrup independently before the apples start releasing their own juices.
Chef's Tip: Stir gently and only occasionally once the apples are added. Constant stirring can break down the slices and turn your filling into applesauce instead of a chunky, pie-worthy filling.
Tips for the Perfect Homemade Apple Filling
A few small details separate a good filling from a truly amazing homemade apple pie filling:
- Slice your apples evenly, about a quarter inch thick, so they cook at the same rate
- Let the filling cool completely before filling a raw pie crust, otherwise it can make the bottom crust soggy
- Taste before you finish cooking. If your apples are especially tart, a touch more sugar goes a long way
Ready to make it? Here is the full step by step recipe:
Homemade Apple Pie Filling
This homemade apple pie filling is thick, cinnamon spiced, and made from fresh apples in under an hour, perfect for pies, pastries, or spooning over ice cream.
Ingredients
- 8 apples, peeled, cored, and thinly sliced, Granny Smith or Honeycrisp work best
- 3/4 cup granulated sugar
- 1/4 cup brown sugar, packed
- 3 tbsp cornstarch
- 1 1/2 tsp ground cinnamon
- 1/4 tsp ground nutmeg, optional but recommended
- 1/4 tsp salt
- 1 cup water
- 1 tbsp lemon juice, freshly squeezed
- 1 tbsp unsalted butter, optional, for extra richness
Instruction
Peel, core, and slice the apples into even, quarter-inch thick pieces so they cook evenly.
Toss the sliced apples with the lemon juice in a large bowl to prevent browning and set aside.
In a medium saucepan, whisk together the granulated sugar, brown sugar, cornstarch, cinnamon, nutmeg, and salt.
Whisk in the water until the mixture is smooth and no cornstarch lumps remain.
Place the saucepan over medium heat and bring to a gentle simmer, stirring constantly, until the mixture thickens into a glossy syrup, about 3 to 4 minutes.
Add the sliced apples and lemon juice to the saucepan, stirring to coat every piece in the syrup.
Reduce the heat to medium low and cook, stirring occasionally, for 12 to 15 minutes, until the apples are tender but still hold their shape.
Stir in the butter, if using, until melted and fully incorporated for a silkier finish.
Remove from heat and let the filling cool for at least 20 minutes before using, as it will continue to thicken as it cools.
Use immediately in a pie crust, refrigerate for later use, or ladle into jars for freezing.
Equipment
- Large saucepan
- Vegetable peeler
- Sharp paring knife
- Whisk
- Mixing bowl
- Wooden spoon
Notes
Serving, Storing, and Using Your Filling
This filling is wonderfully versatile. Pour it into a double crust pie for a classic dessert, spoon it into hand pies or turnovers, or ladle it warm over vanilla ice cream or a stack of pancakes.
For storage, let the filling cool fully before transferring it to an airtight container. It keeps well in the refrigerator for about 5 days, making it a fantastic make ahead component for weekend baking. If you want to stock up for the season, this filling also freezes beautifully in freezer safe bags, laid flat so they thaw quickly when you need them.
Variations To Try
- Add a splash of bourbon or dark rum for a deeper, boozy note
- Stir in a handful of dried cranberries for a holiday twist
- Swap in pears for half the apples for a softer, floral flavor
However you use it, this homemade apple pie filling recipe proves that fresh, simple ingredients still make the best desserts.