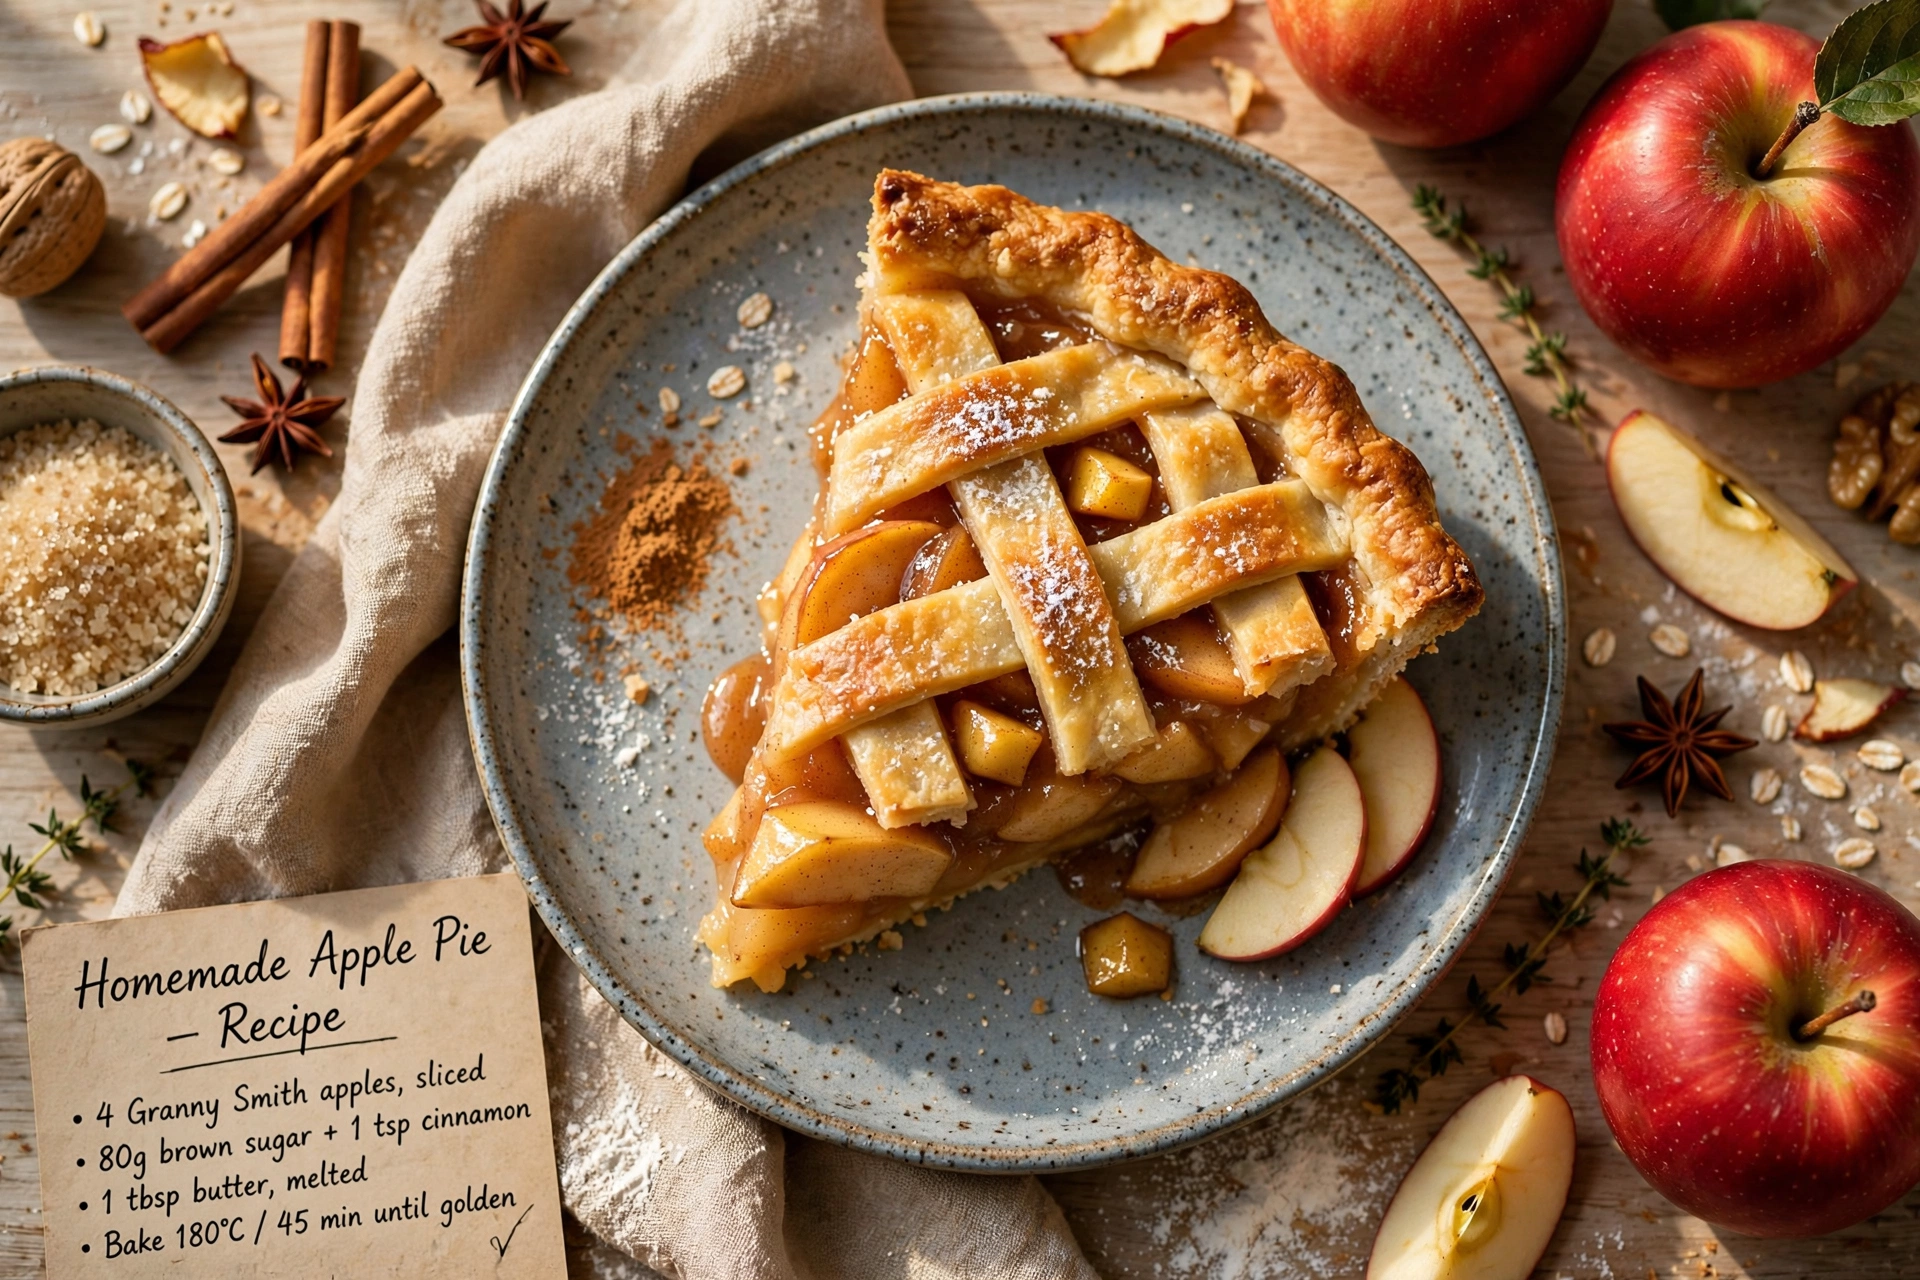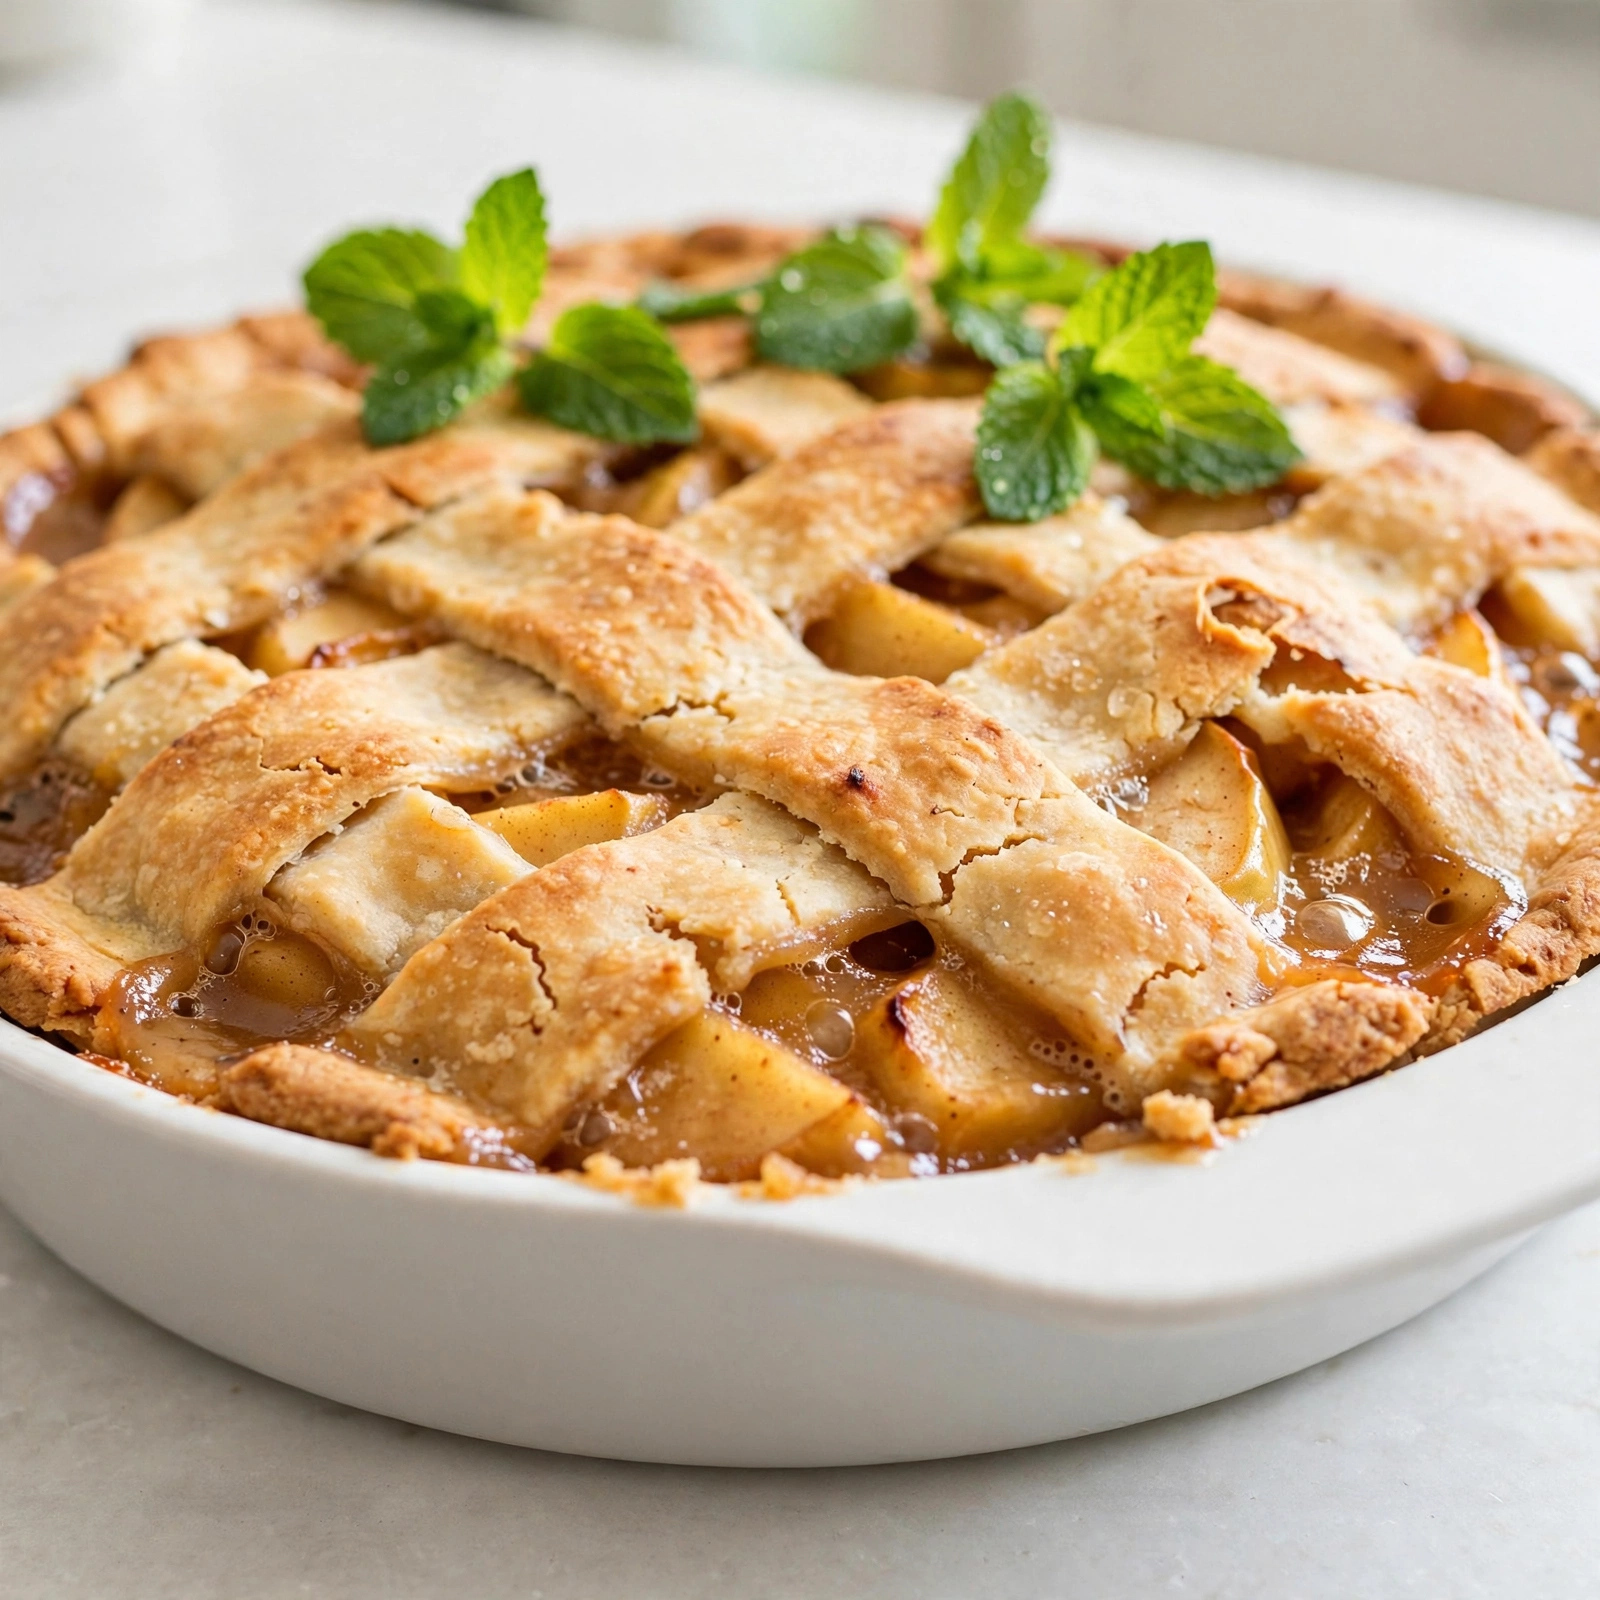
Classic Homemade Apple Pie
This easy apple pie recipe features a buttery flaky crust and a sweet cinnamon spiced homemade apple pie filling made from fresh apples. A true classic dessert everyone loves.

The Apple Pie Recipe You Will Make Again and Again
There is a reason apple pie recipe searches spike every single fall. A truly great apple pie, the kind with a flaky golden crust and a warm cinnamon spiced apple pie filling, is one of those desserts that makes a kitchen feel like home. This is a simple apple pie recipe built for real life, using fresh apples, pantry spices, and a method that anyone can follow, whether you are baking your very first pie or your fiftieth.
What makes this the perfect apple pie recipe easy enough for beginners is the balance. The filling is not too runny, not too stiff, just tender spiced apples in a glossy sauce that holds together beautifully when sliced. If you have ever wondered how to make a apple pie that actually looks like the picture, this is your recipe.
Before we get cooking, the right tools and ingredients make a real difference here. A good pie dish distributes heat evenly so your bottom crust does not turn soggy, and a sharp vegetable peeler makes prepping six cups of apples go by in minutes. These are the products that genuinely help this recipe shine:
Choosing the Best Apples for Homemade Apple Pie Filling
Not all apples behave the same way in the oven. For the best fresh apple pie recipe, you want a variety that softens without turning to mush. Granny Smith apples are the classic choice because they are firm, tart, and hold their shape beautifully during baking.
If you like a touch more sweetness and complexity, try mixing in a few Honeycrisp or Braeburn apples along with the Granny Smiths. The combination gives you that perfect balance of tart and sweet that a truly great apple pie recipe filling needs.
Chef's Tip: Slice your apples to a consistent thickness, about a quarter inch, so they cook evenly. Uneven slices mean some pieces turn mushy while others stay crunchy.
Building the Perfectly Simple Apple Pie Filling
This apple pie recipe filling comes together in one bowl. Tossing the apples in lemon juice first does two important jobs, it keeps the slices from browning and it brightens the overall flavor of the pie. From there, the sugar, flour, and spices coat every slice so the filling thickens into a glossy, spoonable sauce as it bakes.
The flour is doing quiet but essential work here. Without it, your homemade apple pie filling would release too much liquid and leave you with a soggy bottom crust and a puddle of syrup when you slice into it. Three tablespoons is the sweet spot for a filling that is thick but not gluey.
A few things that make this simple apple pie recipe foolproof:
- Do not skip the resting time. Letting the apples sit with the sugar for a few minutes draws out some juice, which helps you avoid an overly wet filling.
- Dot with butter. Those little cubes of butter melt into the filling as it bakes, adding richness and a subtle glossy finish.
- Vent your top crust. Whether you go with slits or a lattice, steam needs somewhere to escape, or the crust can turn soft.
Ready to make it? Here is the full step by step recipe:
Classic Homemade Apple Pie
This easy apple pie recipe features a buttery flaky crust and a sweet cinnamon spiced homemade apple pie filling made from fresh apples. A true classic dessert everyone loves.
Ingredients
- 2 refrigerated pie crusts, or homemade double pie crust, for top and bottom
- 6 cups granny smith apples, peeled, cored, and thinly sliced (about 6 to 7 medium apples)
- 3/4 cup granulated sugar
- 1/4 cup light brown sugar, packed
- 3 tbsp all-purpose flour, for thickening the filling
- 1 tsp ground cinnamon
- 1/4 tsp ground nutmeg
- 1 tbsp lemon juice, freshly squeezed
- 1/4 tsp salt
- 2 tbsp unsalted butter, cut into small cubes
- 1 large egg, beaten, for egg wash
- 1 tbsp coarse sugar, optional, for sprinkling on top
Instruction
Preheat the oven to 400 degrees F (200 degrees C). Place a rimmed baking sheet on the lower rack to catch any drips.
Fit one pie crust into a 9 inch pie dish, pressing it gently into the bottom and sides. Trim any excess and refrigerate while you make the filling.
In a large bowl, toss the sliced apples with lemon juice. Add the granulated sugar, brown sugar, flour, cinnamon, nutmeg, and salt, then stir until the apples are evenly coated.
Pour the apple filling into the chilled pie crust, mounding it slightly in the center. Dot the top of the filling with the cubed butter.
Cover with the second pie crust, either as a full sheet with slits cut for venting or as a lattice. Trim and crimp the edges to seal.
Brush the top crust with the beaten egg wash and sprinkle with coarse sugar if using.
Bake for 20 minutes at 400 degrees F, then reduce the oven temperature to 350 degrees F (175 degrees C) and continue baking for 30 to 35 minutes, until the crust is deep golden brown and the filling is bubbling.
If the edges brown too quickly, cover them loosely with strips of foil partway through baking.
Remove the pie from the oven and let it cool on a wire rack for at least 3 hours before slicing to allow the filling to set.
Equipment
- 9 inch pie dish
- Large mixing bowl
- Rolling pin
- Pastry brush
- Wire cooling rack
- Rimmed baking sheet
Notes
Serving, Storing, and Make Ahead Tips
Once your pie comes out of the oven, patience really is the hardest ingredient. Letting it cool for a full three hours allows the homemade apple pie filling to set properly, so your slices hold their shape instead of spilling apples everywhere. I know it is tempting to cut in early, but trust the process here.
Apple pie is wonderful served slightly warm with a scoop of vanilla ice cream, or at room temperature with a dollop of lightly sweetened whipped cream. It also happens to taste even better the next day, once the flavors have had time to meld.
To store, keep the pie loosely covered at room temperature for up to two days, or in the refrigerator for up to five. You can also freeze a fully baked and cooled pie, wrapped tightly, for up to three months. Thaw it overnight in the fridge and warm it in a 300 degree F oven before serving.
If you are baking ahead for a holiday, this simple apple pie recipe is ideal because the unbaked, assembled pie freezes well too. Just bake it straight from frozen, adding about 15 extra minutes to the baking time.
However you slice it, this classic apple pie recipe delivers everything you want: a crisp, buttery crust and a warmly spiced, perfectly tender apple filling in every single bite.